 Semiahmoo Siding
 Bellingham's Climate Is Harder on Siding Than It Looks
Bellingham sits close enough to Bellingham Bay and the wider Salish Sea that homes here take on a mix of exposures most siding products were never designed to handle well. There's salt-tinged air drifting in off the water, wind-driven rain that comes in sideways instead of straight down, and long stretches of grey, damp weather that keep north- and shade-facing walls wet enough to grow moss for months at a stretch. Individually, none of that sounds severe. Stacked together year after year, it's one of the tougher climates in the country for exterior siding to survive without babying.
Salt air carries fine airborne particles that settle on exposed surfaces and quietly accelerate corrosion on fasteners, flashing, and any trim metal that isn't rated for coastal exposure. On a lot of homes, the siding itself looks fine long after the hardware holding it up has started to fail underneath.
Driving Rain Changes How Siding Has to Be Installed
Storms moving through Whatcom County don't always drop rain straight down — wind pushes it sideways and up under laps, trim, and penetrations that would stay dry in a calmer climate. That means the water-management details behind the siding matter as much as the siding itself. A product installed with the wrong lap exposure, a missed flashing detail, or a caulked joint where there should be an open, drained gap will eventually let water in, no matter how good the material is.
Moss Isn't Just Cosmetic
Bellingham's overcast, damp stretches give moss and algae months of ideal growing conditions on shaded and north-facing walls. Beyond the green staining, moss holds moisture directly against the siding surface for extended periods. On products that aren't dimensionally stable or properly sealed, that sustained dampness is what starts rot, delamination, or paint failure well before the siding would otherwise need replacing.
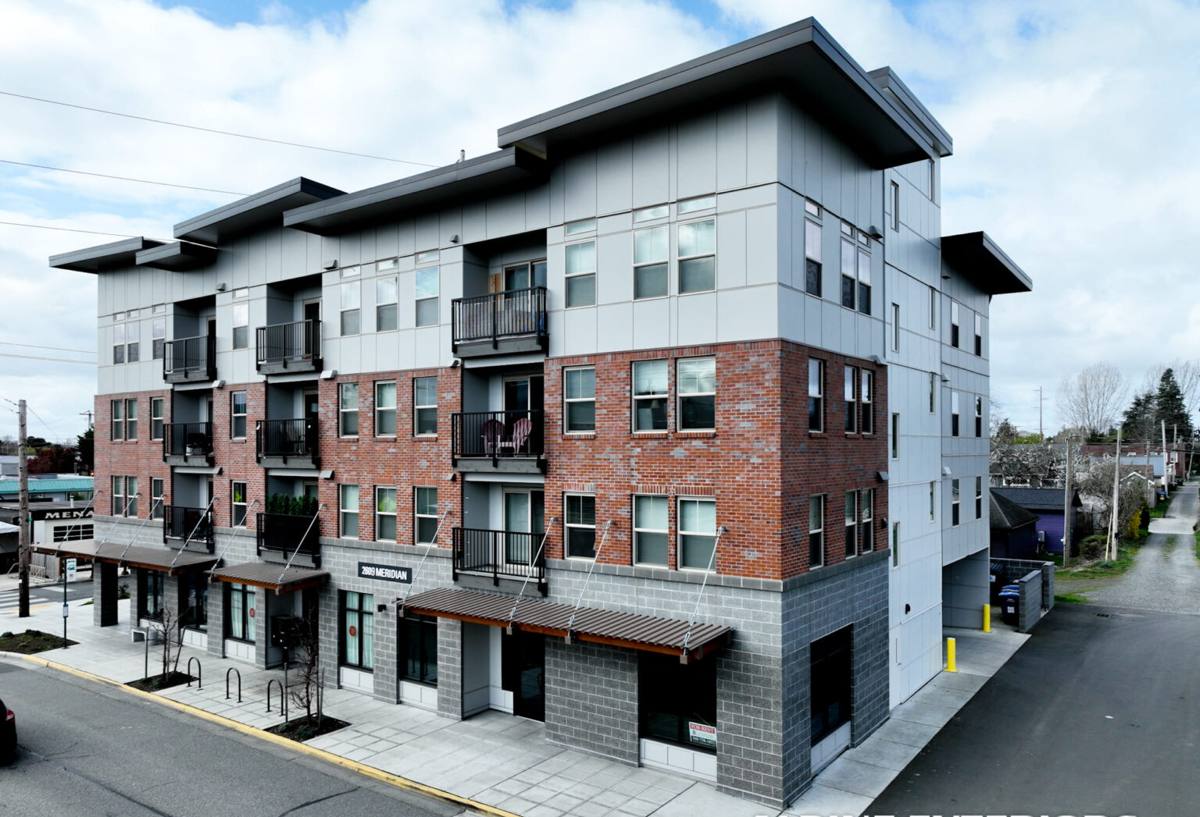
What a Correct Siding Installation Actually Involves
Good siding installation is mostly invisible once it's done — the parts that matter most are the layers you never see again. In a climate like this one, skipping or rushing any of them shows up as a problem within a few wet seasons, not decades.
Water-Resistive Barrier and Flashing
Every wall needs a continuous water-resistive barrier (WRB) behind the siding, lapped correctly from bottom to top so any water that gets past the cladding drains down and out instead of behind the framing. Windows, doors, and every penetration need integrated flashing tied into that barrier — not just caulk. Caulk is a backup, not a strategy.
The Rainscreen Gap
A drained and vented air gap between the WRB and the siding gives incidental moisture a path to dry out instead of sitting trapped against the back of the panel. This detail matters more here than in drier inland climates, precisely because Bellingham walls stay damp longer after a storm.
Fastening and Clearances
Fastener type, spacing, and depth all affect how siding holds up to wind-driven rain and salt exposure — corrosion-resistant fasteners installed to the manufacturer's schedule aren't optional here. Siding also needs proper clearance from grade, roof lines, and decks so it isn't sitting in a moisture trap from day one.
Why We Install Only James Hardie Fiber Cement Siding
We made a deliberate decision to standardize on James Hardie fiber cement and not install vinyl, LP SmartSide, or other fiber cement brands. Fiber cement doesn't feed moss and mildew the way wood-based products can, it's non-combustible, and it holds its shape and finish in freeze-thaw and wet-dry cycling far better than vinyl, which can warp, crack, or fade under prolonged UV and temperature swings. Hardie also engineers specific product formulations for different climate zones (their HZ5 and HZ10 lines) rather than selling one generic panel everywhere, which matters in a climate that swings between salt air, driving rain, and long damp winters.
Standardizing on one manufacturer also means our crews install the same system on every job — the same flashing details, the same fastening schedule, the same factory-finished ColorPlus coating — so quality doesn't vary from house to house. It also keeps warranty coverage clean: one product, one installation standard, one manufacturer to stand behind it.
Our Siding Installation Process for Bellingham Homes
- On-site assessment — we walk the exterior, check for existing moisture damage, moss buildup, and problem areas like north walls, roof-to-wall intersections, and low-clearance sections near grade or decking.
- Tear-off and sheathing check — old siding comes off and we inspect the sheathing underneath for rot or soft spots before anything new goes up. Damaged sheathing gets replaced, not covered over.
- Water-resistive barrier and flashing — a continuous WRB goes on first, with flashing integrated at every window, door, and penetration.
- Rainscreen furring — a vented gap is installed to keep the siding drained and able to dry between storms.
- Hardie panel or lap installation — installed to manufacturer spec for fastener type, spacing, and clearance, matched to the Hardie product line specified for this climate zone.
- Trim, caulking, and final detailing — corners, trim boards, and joints finished to shed water rather than rely on sealant alone.
- Final walkthrough — we go over the finished work with the homeowner before calling the job done.
Signs Your Current Siding Is Already Losing the Battle
A lot of Bellingham homeowners call us after noticing something that's been building for a while, not something that happened overnight. Common warning signs include:
- Persistent moss or algae staining that comes back within weeks of cleaning
- Soft, spongy spots when you press on wood-based or engineered wood siding
- Vinyl panels that have visibly warped, buckled, or faded unevenly
- Paint or caulk that's cracking or peeling faster than it used to
- Rust streaks below fasteners or trim metal
- Rot or discoloration concentrated at the bottom courses, near grade, or under deck ledgers
None of these mean a home needs full replacement immediately, but they're worth a professional look before the next wet season adds to the damage.
What Siding Installation Costs in Bellingham
Every home is different, but the factors below are what actually move the price on a siding project in this area. We provide exact numbers only after seeing the home in person — broad ranges without a site visit aren't useful to anyone.
| Cost Factor | Why It Matters Here |
|---|---|
| Home size and wall complexity | More corners, gables, and dormers mean more cutting, trim, and labor time |
| Condition of existing sheathing | Moisture-damaged sheathing found during tear-off adds repair work before new siding goes on |
| Siding profile chosen | Lap, panel, and shingle-style Hardie products differ in material and installation time |
| Trim and detail work | Window and door surrounds, corner boards, and fascia detailing add labor |
| Site access | Tight lots, steep grades, or limited staging area common in some Bellingham neighborhoods can affect labor time |
| Tear-off and disposal | Removing and hauling away old siding versus a bare-wall install |
What to Look for in a Bellingham Siding Contractor
The right crew for this climate has actually worked in it. That sounds obvious, but it's the single biggest difference between a siding job that holds up for decades and one that starts showing problems in a few wet winters.
- Manufacturer training or certification on the specific product being installed
- Willingness to explain their water-management details — WRB, flashing, rainscreen — not just the finish product
- Proper licensing, bonding, and insurance for exterior work in Washington
- Familiarity with how salt air, wind-driven rain, and moss affect siding specifically in Whatcom County
- A clear written scope of work, not a verbal estimate
A contractor unfamiliar with coastal Whatcom County conditions may install a product correctly by a generic standard and still leave it exposed to problems specific to this area, like inadequate ventilation on shaded walls or fasteners that aren't rated for salt exposure.
Caring for New Siding After Installation
Fiber cement siding installed correctly needs relatively little upkeep, but a little seasonal attention goes a long way in this climate.
- Rinse siding gently once or twice a year to keep salt residue and grime from building up
- Keep gutters and downspouts clear so water isn't running down or pooling against wall surfaces
- Trim back vegetation and tree cover that keeps shaded walls damp and encourages moss
- Check caulking at trim and penetrations every year or two and touch up as needed
- Address any moss regrowth early with a gentle wash rather than letting it establish
If you're dealing with aging or failing siding on a Bellingham home, or you're ready to talk through what correct installation looks like for your specific house, we're happy to take a look and walk you through it. Reach out for a free, no-pressure estimate — no obligation, just a straight answer about what your home actually needs.