 Semiahmoo Siding
 Why Birch Bay Siding Takes a Different Kind of Beating
Birch Bay sits close enough to the water that salt air is a daily fact of life, not an occasional nuisance. Add the driving rain that rolls in off the Strait of Georgia through fall and winter, plus a moss season that can stretch across most of the year on shaded north walls, and you've got a climate that is genuinely hard on exterior cladding. Homes here don't fail because owners neglected them — they fail because the siding product wasn't built for this specific combination of salt, moisture, and shade.
Whatcom County's marine climate means humidity stays elevated for long stretches, wood-based and wood-adjacent siding rarely gets a real chance to dry out between storms, and anything with a weak factory finish takes on grime and moss growth faster than it would inland. A siding installation in Birch Bay has to account for all of that from the first course to the last piece of trim, not just meet a generic code minimum.
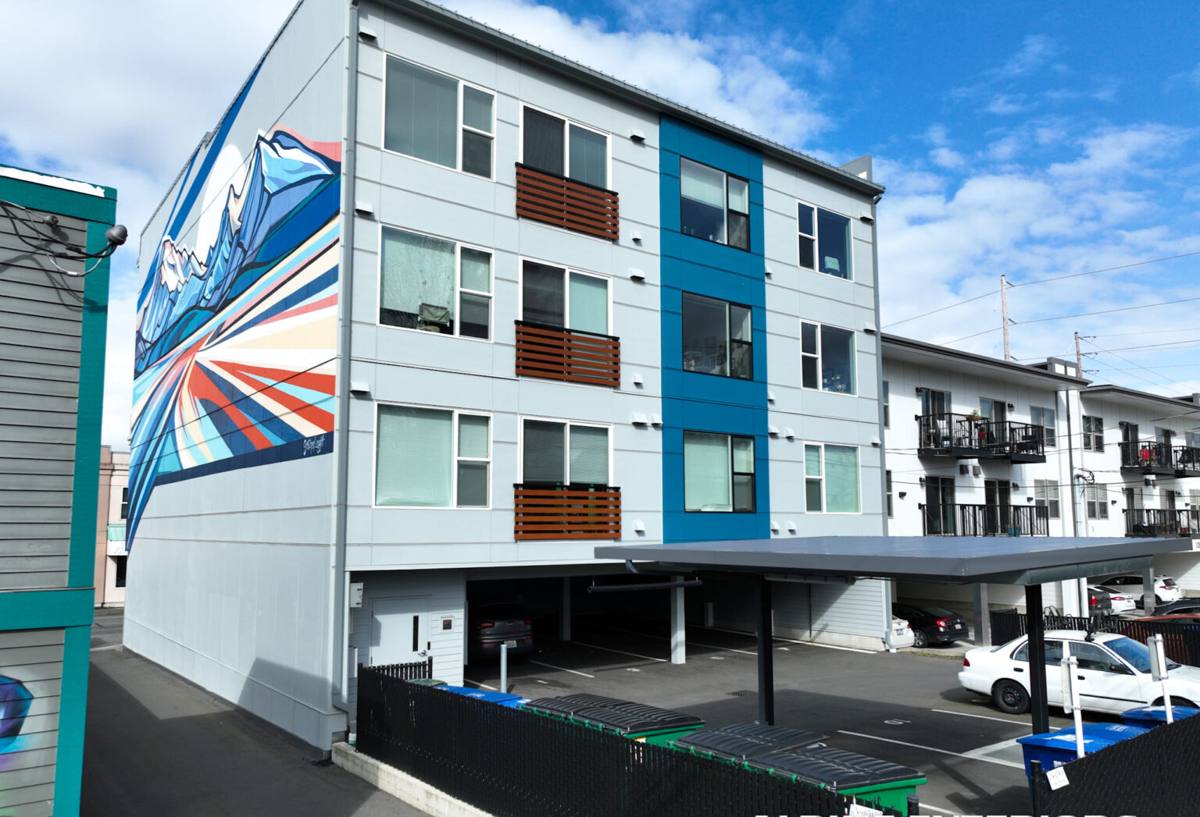
What Birch Bay Homes Actually Need From Their Siding
Before talking about products or installation steps, it's worth being specific about what "right" looks like for this location:
- A cladding material that doesn't absorb and hold moisture, since Birch Bay's rain events are frequent and prolonged
- A factory-applied finish tough enough to resist salt-air degradation, rather than a field-applied coating that will need repainting on a short cycle
- A rainscreen or drainage detail behind the siding so incidental moisture has somewhere to go instead of sitting against the wall assembly
- Non-combustible material, which matters more each year as wildfire smoke and regional fire risk become part of Pacific Northwest summers
- Correct fastening and clearances that respect wind-driven rain, since exposed coastal-adjacent walls take rain at more angles than a sheltered inland lot would
Every one of those needs points toward the same conclusion: the product matters as much as the workmanship. A perfectly executed install of the wrong material still ages badly in this environment.
Why We Only Install James Hardie Fiber Cement
This company installs one siding system: James Hardie fiber cement. We don't install vinyl, LP SmartSide, Cemplank, Allura, primed spruce, or cedar, and that's a deliberate standard, not a sales pitch. Each of those alternatives has legitimate strengths, but each also carries a trade-off — moisture sensitivity, a weaker factory finish, a shorter maintenance cycle, or combustibility — that we're not willing to put our name behind on a coastal Whatcom County property.
James Hardie fiber cement is cement, sand, and cellulose fiber, which means it doesn't rot, doesn't feed moss the way wood-based products can, and doesn't warp or delaminate the way some engineered wood siding does when it takes on repeated moisture. Hardie's ColorPlus factory finish is baked on under controlled conditions rather than field-painted, which matters directly here: it holds color and resists the chalking and fading that salt air accelerates, and it comes with its own finish warranty separate from the product warranty. Hardie also makes climate-specific HZ product lines engineered for exactly the wet, marine conditions Birch Bay sits in.
None of this means Hardie is maintenance-free. It still needs to be installed correctly, caulked and painted at the cut edges per manufacturer spec, and inspected periodically. But it starts from a much stronger baseline for this climate than any of the alternatives we chose not to install.
How Hardie Compares to What We Won't Install
| Factor | James Hardie Fiber Cement | Vinyl / Wood-Based Alternatives |
|---|---|---|
| Moisture behavior | Does not rot or absorb water like wood; engineered for wet climates | Wood products can swell, rot, or delaminate with sustained moisture exposure |
| Combustibility | Non-combustible cement-based material | Vinyl softens/melts under heat; wood and wood composites are combustible |
| Finish durability | Factory-baked ColorPlus finish, separately warrantied | Field-applied paint or thinner factory coatings fade and chalk faster in salt air |
| Moss/algae resistance | Cement substrate doesn't feed organic growth the way wood fiber can | Wood-based products are more prone to moss and algae staining in shade |
| Installation sensitivity | Precise but well-documented manufacturer specs | Some products (vinyl especially) hide poor installation until failure shows up later |
What a Correct Installation Actually Involves
Siding installation isn't just fastening boards to a wall. On a Birch Bay home, the sequence that determines whether the job holds up for decades looks like this:
1. Tear-off and wall inspection
We remove the existing siding down to the sheathing and actually look at what's underneath — sheathing rot, old water staining, and compromised framing all get addressed before anything new goes up. Skipping this step is the single most common reason a siding job fails early, regardless of which product went on top.
2. Weather-resistive barrier and flashing
A correctly lapped weather-resistive barrier, properly flashed windows, doors, and penetrations, come next. In a climate with Birch Bay's rain volume, flashing details around openings are often more important to long-term performance than the siding itself.
3. Rainscreen gap
We install a drainage gap between the barrier and the siding so any moisture that does get behind the cladding can drain and the wall can dry. This is standard practice for coastal Pacific Northwest installs and is part of why a correctly done Hardie install outperforms a face-nailed, gapless installation of any product.
4. Hardie installation to manufacturer spec
Fastener type, spacing, and placement, board overlap, and clearances from grade, decks, and roof lines all follow James Hardie's published installation instructions. This is what keeps the finish and product warranties valid and what actually determines how the siding performs in wind-driven rain.
5. Cut-edge sealing and trim
Every field cut gets sealed per Hardie spec before installation, and trim, caulking, and paint at cut edges are finished correctly rather than rushed. This step gets skipped more often than homeowners realize, and it's usually where an otherwise good installation starts to fail first.
A Practical Pre-Project Checklist for Birch Bay Homeowners
- Ask any contractor bidding the job whether they install a rainscreen gap, not just siding directly over the barrier
- Confirm in writing which Hardie product line and profile is being quoted, not just "Hardie siding"
- Ask how existing moisture damage or rot, if found during tear-off, will be handled and priced
- Get clarity on who handles painting of cut edges and trim, and when in the schedule that happens
- Ask what happens around windows, doors, and roof-to-wall transitions specifically — these are the highest-risk details
- Confirm the crew has worked in Birch Bay or comparable coastal Whatcom County conditions before, not just inland siding jobs
Why Local Experience in Birch Bay Specifically Matters
Siding installation done to a national code minimum is not the same as siding installation done for this specific stretch of coastline. A crew that's worked Birch Bay and the surrounding Semiahmoo area knows which walls take the worst of the wind-driven rain, which sides of a house stay shaded long enough to grow moss year-round, and how much of a drainage gap actually matters versus how much is theoretical. That local pattern recognition shows up in small decisions — extra flashing at a transition, a slightly different fastening approach on an exposed gable — that don't show up in a bid sheet but show up in how the house performs ten winters from now.
It also matters for scheduling and sequencing. Coastal Whatcom County weather windows for exterior work are real and finite; a crew that plans around them gets a cleaner, drier installation than one working on a generic timeline.
What to Expect Cost-Wise
Siding installation costs vary based on home size, existing wall condition, trim complexity, and how much sheathing repair is needed once tear-off starts. Rather than quoting a number that won't reflect your specific home, here's what actually drives the cost up or down:
| Cost Factor | Why It Matters |
|---|---|
| Sheathing condition found at tear-off | Rot or water damage discovered underneath old siding adds repair scope before new siding can go on |
| Home size and wall complexity | More corners, gables, and transitions mean more cutting, flashing, and labor time |
| Trim and accent detail | Board-and-batten accents, trim boards, and color-matched fascia add material and labor |
| Access and site conditions | Steep lots, limited staging area, or multi-story walls affect equipment and labor needs |
| Product line and profile | Hardie's various lines and plank widths carry different material costs |
We walk through all of this on site before giving a number, so you know exactly what's driving the estimate rather than getting a flat per-square-foot figure that doesn't hold once tear-off starts.
Get a Straight Answer on Your Birch Bay Siding Project
If your siding is showing moss staining, chalking, cupping, or you've just had a wall opened up and don't like what you found, it's worth getting a straight look before deciding what to do next. We'll walk the exterior with you, point out what the weather has actually done to the current siding, and explain what a correct James Hardie installation would involve for your specific home. Reach out for a free, no-pressure estimate using the form below.