 Semiahmoo Siding
 Building New in Birch Bay Changes What "Correct" Window Installation Means
Birch Bay sits right on the water, and that changes the calculus for window installation in a way that inland Whatcom County framing crews don't always plan for. You're dealing with salt-laden air rolling off the bay, driving rain that comes in sideways during winter storms, and a moss season that stretches long enough to test every seam in a building envelope. On a new-construction project, the windows go in before the siding, before the trim, sometimes before the building is fully dried in. That's an advantage if the sequencing is done right, and a liability if it isn't. Get the window-to-wall connection wrong at this stage and you're not looking at a cosmetic problem down the road — you're looking at hidden water intrusion behind finished walls that nobody catches until there's rot, mold, or a warranty dispute.
We work new-construction window installs specifically in this stretch of Semiahmoo-area coastline, which means we're not guessing at how a given assembly holds up to bay-side exposure. We've seen what fails here and what doesn't.
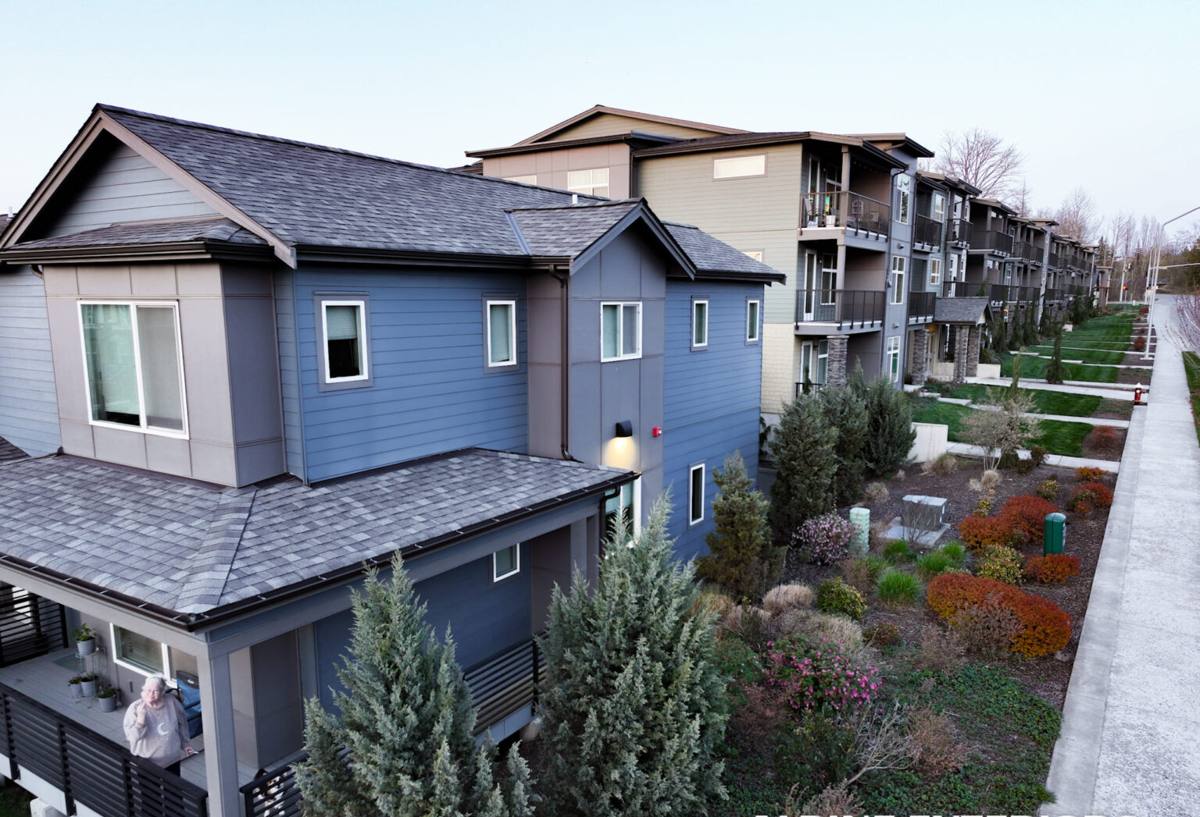
What "New-Construction" Windows Actually Means
New-construction windows are built with a nailing flange (also called a nail fin) around the perimeter of the frame, designed to be fastened directly to the wall sheathing before the weather-resistive barrier (WRB) and siding go on. This is different from a replacement or "pocket" window, which is designed to fit into an existing frame opening after the original sash is removed, without disturbing the exterior wall assembly.
The nail-fin design gives you a better opportunity to build a genuinely continuous water-management system, because the flashing and WRB can be layered over the fin in the correct shingle-lap order — each layer draining onto the one below it, all the way down to the foundation. On a replacement job you're often working around what's already there. On new construction, if the crew takes the time, there's no excuse for a compromised seal.
Why This Matters More on the Water
Inland, a mediocre flashing job might go years before it shows a problem. On a lot exposed to Birch Bay's wind-driven rain, a gap in the flashing sequence can show water staining on interior drywall within a single wet season. The margin for error is smaller here, which is exactly why the install sequence deserves more attention than it typically gets on a fast-moving framing schedule.
Getting the Water-Management Sequence Right
This is the part of a new-construction window install that separates a job that lasts decades from one that causes problems in five years. None of it is exotic — it's just detail work that has to happen in the correct order, every time, on every opening.
Sill Pan First
Before the window ever goes in, the rough opening sill should get a sloped pan flashing — either a manufactured pan or a properly formed flexible flashing membrane — that directs any water that gets past the window itself back out to the exterior instead of into the wall cavity. This is the single most-skipped step we see on coastal builds, because it takes extra time and most of the framing crew isn't thinking about the window install yet.
Shingle-Lap Order
Every layer of flashing tape and WRB has to overlap the layer below it, so water always sheds outward and downward — sill pan, then jamb flashing, then head flashing, then the WRB integrated over the top in that same order. Reverse any part of that sequence and you've built a shelf that catches water instead of shedding it.
Salt Air and Hardware
Close to the bay, exposed fasteners, hinges, and window hardware corrode faster than they would a few miles inland. We pay attention to fastener material and make sure exposed hardware is rated for coastal exposure, not just standard-grade components that are fine in a drier, inland part of the county.
Choosing a Frame Material for This Site
There's no single "correct" frame material for every coastal build — it depends on your budget, your architectural style, and how much upkeep you want to take on. Here's how the common options actually perform in a Birch Bay-type exposure, in plain terms.
| Frame Material | Coastal / Salt-Air Behavior | Maintenance | Typical Trade-Off |
|---|---|---|---|
| Vinyl | Doesn't corrode; performs well near salt air | Low — occasional cleaning | Fewer color/finish options; frame flexes more in temperature swings |
| Fiberglass | Very stable, resists moisture and salt exposure well | Low | Higher upfront cost than vinyl |
| Aluminum | Can corrode over time without a marine-grade finish; conducts cold | Moderate — watch for pitting near the water | Slim sightlines, but needs the right coating spec here |
| Wood / Wood-Clad | Exterior clad protects the wood, but any breach in the cladding lets moisture into end grain | Higher — finish and seals need periodic attention | Best interior look; least forgiving of installation or maintenance gaps this close to the water |
We don't push wood-clad frames on directly exposed bay-front lots as our default recommendation — not because the product is bad, but because any lapse in maintenance or any small breach in the cladding puts raw wood in contact with salt-laden moisture, and that's a slow, expensive problem to catch early. It's a fair option on a more sheltered lot with an owner who'll stay on top of finish maintenance. For most Birch Bay builds, vinyl or fiberglass gives you the best odds of a trouble-free envelope with the least upkeep.
Our Install Process on a New-Construction Site
- Rough opening check. We verify every opening is square, level, and sized correctly before a window ever shows up on site — catching framing errors here is far cheaper than after the window's set.
- Sill pan installation. Sloped pan flashing goes in first, on every opening, no exceptions.
- Dry-fit and set. The window is set, shimmed plumb and level, and fastened through the nail fin per the manufacturer's schedule — not just "close enough."
- Flashing in shingle-lap order. Jamb flashing, then head flashing, then WRB integration over the top.
- Interior air-seal. A proper interior seal (not just exterior sealant) keeps conditioned air from carrying moisture into the wall cavity from the inside — often overlooked, and it matters as much as the exterior detail.
- Final inspection. We check every opening again before siding closes it up, because once the siding's on, these details are hidden for the life of the building.
Whatcom County Code and Site Exposure
New-construction windows on a Birch Bay lot need to meet current Washington State energy code requirements for glazing performance, and depending on the specific site and its exposure to wind, the building department may call for a higher design pressure rating than a comparable inland lot would need. We coordinate window specs with what the local jurisdiction and your builder's plans actually require, rather than defaulting to a generic inland spec sheet. If you're working with a general contractor, we're used to fitting into that schedule as the window sub, not working around it.
Signs of a Rushed New-Construction Window Install
If you're a homeowner keeping an eye on your own build, or vetting a contractor's past work, here's what tells you the water-management details were actually followed — or weren't.
- Sill pan flashing visible (or documented) at every opening before the window went in
- Flashing tape and WRB overlapped in the correct shingle-lap order, not just "sealed with caulk"
- Consistent shim spacing and no visible frame bow when you sight down the jamb
- Exterior sealant used as a backup to proper flashing, not as a substitute for it
- Interior air-seal detail present, not just exterior caulking
- Hardware and fasteners rated for coastal exposure rather than standard inland-grade components
Caulk-only "flashing" is the most common shortcut we see corrected on coastal jobs. Sealant fails or shrinks over time; it's a backup layer, not a water-management system on its own.
Why a Crew That Already Works Birch Bay Matters
A lot of window problems on coastal new construction don't come from bad products — they come from a crew treating a bay-front lot the same as an inland one. The wind exposure is different, the rain comes in at a different angle during winter storms, and moss and moisture sit on surfaces longer here than a few miles inland. A crew that's done this work up and down the Semiahmoo peninsula already knows which details to spend extra time on and which openings on a given lot need the most attention — usually the ones facing the water directly. That familiarity doesn't show up on a spec sheet, but it shows up in how the building performs five and ten years out.
After Move-In: What Keeps New Windows Performing
Even a correctly installed window benefits from basic upkeep in this environment. Rinse accumulated salt residue off frames and glass periodically, especially on bay-facing elevations. Keep weep holes clear of debris so any water that does get into the frame track can drain out. And during the wetter months, it's worth a quick visual check of interior sills and exterior caulk lines for any early signs of moisture — catching a small issue early is a lot cheaper than catching it late.
If you're planning a new build or an addition in Birch Bay and want windows installed with the flashing and sequencing details this site actually calls for, we're glad to walk the plans with you and put together a free, no-pressure estimate — just fill out the form below.