 Semiahmoo Siding
 Why Wiser Lake Roofs Take a Different Kind of Beating
Wiser Lake sits inland from the coast, but it still gets the full package of what Whatcom County weather throws at a roof over the course of a year: driving winter rain that comes in sideways during frontal storms, salt-tinged air drifting in off the Strait and Semiahmoo Bay, and a moss season that can run eight months or longer under the tree cover common around the lake. None of these on their own is unusual for Western Washington. Together, and repeated year after year, they change what "storm damage" actually means for a roof out here compared to a roof in a drier part of the state.
A single wind event rarely destroys a roof in this area. What we see more often is a storm that loosens or lifts a section of shingles, cracks a few pieces of flashing, or knocks debris loose from an overhanging tree — and then weeks or months of ordinary Whatcom County rain finding that weak point before anyone notices a problem indoors. By the time a homeowner sees a stain on a ceiling, the roof has usually been leaking for a while.
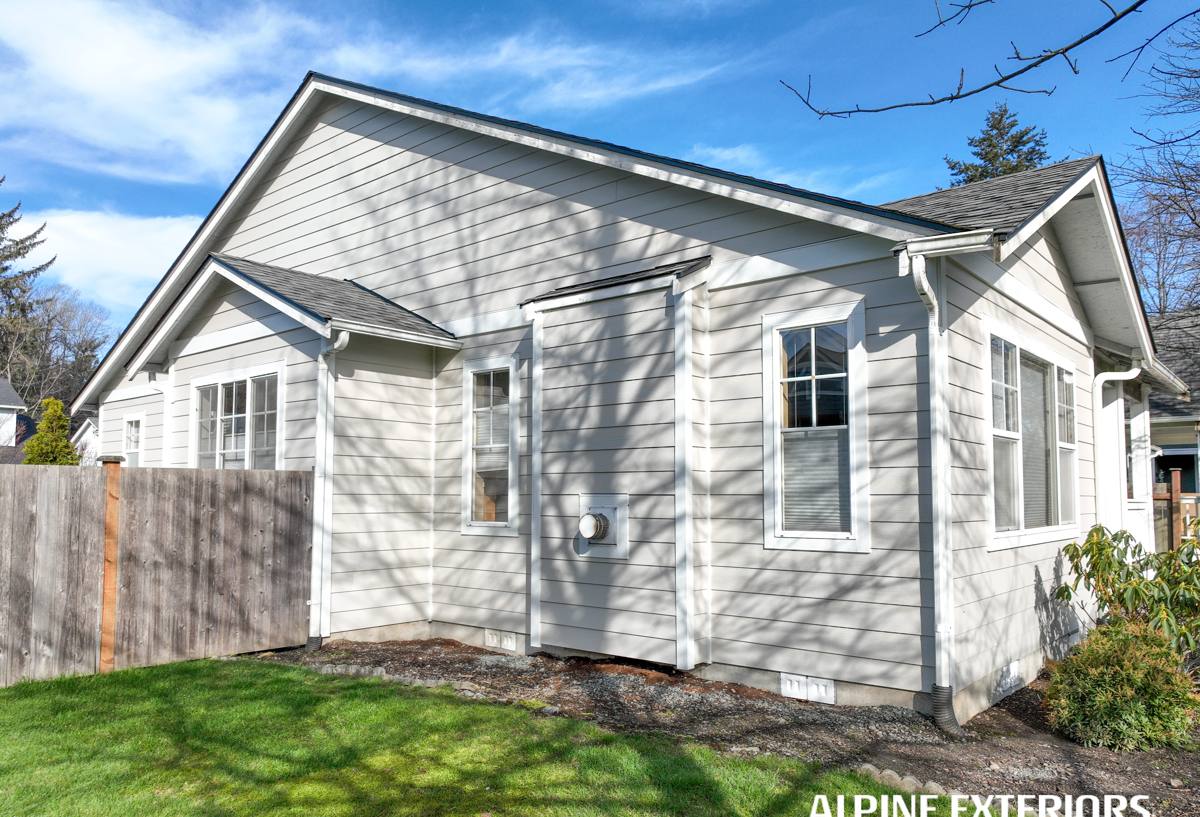
What Storm Damage Actually Looks Like on a Wiser Lake Roof
Wind and Rain Damage
Sustained wind combined with heavy rain is the most common storm pattern that damages roofs around Wiser Lake. Wind gets under the tab edge of a shingle that's already lost some of its seal, lifts it, and either breaks it off or leaves it creased and no longer watertight. Rain then drives sideways under that lifted or missing shingle, especially on the windward-facing slopes.
Debris Impact
Properties near the lake often sit among mature trees, and storms bring down branches, cones, and needles. A direct branch strike can crack or puncture shingles and, in harder hits, damage the sheathing underneath. Smaller debris that isn't cleared off the roof holds moisture against the surface long after the storm has passed.
Flashing and Penetration Failures
Flashing around chimneys, vent pipes, and roof-to-wall transitions is where most storm-related leaks actually originate, even when the shingles themselves look fine from the ground. Wind can work flashing loose at the edges, and repeated wet-dry cycling breaks down the sealant that keeps those joints watertight.
Moss and Moisture Damage
Moss isn't storm damage in the classic sense, but it's a direct result of this area's long wet season, and it makes storm damage worse. Moss holds water against the roofing material, works its way under shingle edges as it grows, and can lift tabs enough that the next windstorm finishes the job.
The Hidden Damage: What Happens When Storm Damage Goes Unrepaired
The visible damage after a storm — a missing shingle, a bent flashing piece — is rarely the full story. Once water finds a way past the roofing surface, it travels along the sheathing and framing before it ever shows up as a stain inside the house. In a climate as consistently wet as this one, that gap between "small leak starts" and "someone notices water damage" can stretch for months.
What we typically find when we open up a roof that's had unrepaired storm damage for a season or more:
- Saturated or delaminating roof sheathing that has to be cut out and replaced, not just covered over
- Wet, compressed insulation in the attic that has lost most of its R-value
- Early-stage wood rot at rafter tails, fascia boards, or the roof deck near the original leak point
- Mold or mildew growth on the underside of the roof deck or on attic framing
- Water staining that has migrated well away from the original entry point, making the leak source harder to trace
This is the main reason we push homeowners toward a prompt inspection after any significant wind or rain event, even if nothing looks obviously wrong from the driveway. A repair that would take an hour right after the storm can turn into a sheathing and insulation project if it sits through a few more months of Whatcom County rain.
Our Storm Damage Repair Process
1. Inspection and Documentation
We start with a full roof inspection, not just a look at the spot the homeowner is worried about. Storms rarely damage only one area, and we want to catch secondary issues — a second lifted shingle run, a compromised vent boot — before they become their own leak. We document what we find with photos, which also supports an insurance claim if you're filing one.
2. Identifying the Actual Leak Path
Water doesn't always travel straight down from where it enters. Before we start repairs, we trace the path from the interior damage or the visible exterior damage back to the actual failure point — a cracked flashing seam, a torn shingle, a gap around a penetration — so the repair addresses the cause, not just the symptom.
3. Removing Compromised Material
Any shingles, underlayment, or flashing that's been damaged or has lost its ability to shed water gets removed. We don't shingle over damaged material or rely on sealant alone to patch a section that should be replaced.
4. Checking and Repairing the Deck
If water has been getting past the roofing surface for any length of time, we check the sheathing underneath for softness, delamination, or rot before any new roofing goes down. Replacing shingles over a compromised deck just sets up the next failure.
5. Reinstalling with Matching Materials
We repair using materials that match your existing roof as closely as possible in type, weight, and often color, so the repaired section performs the same as the rest of the roof and doesn't stand out more than necessary.
6. Final Weatherproofing Check
Before we call the job done, we check that flashing laps, nail patterns, and sealant applications are correct at every penetration and edge involved in the repair — these details are what determine whether a repair holds through the next storm or fails again in a year.
Repair vs. Replace: How We Make That Call
Not every storm-damaged roof needs a full replacement, and not every roof can be responsibly patched. We base the recommendation on the extent of damage, the age and condition of the roof overall, and what we find once we can see the deck and underlayment up close.
| Factor | Points Toward Repair | Points Toward Replacement |
|---|---|---|
| Roof age | Under half of expected lifespan | Nearing or past expected lifespan |
| Extent of damage | Localized to one section or slope | Spread across multiple areas or slopes |
| Deck condition | Solid, dry sheathing found on inspection | Soft spots, rot, or delamination present |
| Shingle condition elsewhere | Remaining shingles still sealing and flexible | Widespread granule loss, brittleness, or curling |
| Moss history | Light, recently treated | Heavy, long-term moss with lifted shingle edges throughout |
We'll walk you through which of these apply to your roof and explain the reasoning, rather than defaulting to whichever option is more or less work for us.
Materials and Methods We Use for This Climate
Storm repairs around Wiser Lake need to hold up to the same conditions that caused the damage in the first place — sustained rain, salt-influenced air moving in from the coast, and heavy moss pressure under tree cover. We select underlayment, flashing, and sealants rated for consistent wet exposure rather than fair-weather use, and we pay particular attention to fastener and flashing metal compatibility so components don't corrode against each other over time in this humidity.
On roofs with a moss history, we'll also talk with you about moss prevention as part of the repair — zinc or copper strip installation, and a recommended cleaning schedule — since a repair that isn't paired with moss control is likely to face the same lifting and leak risk again within a few wet seasons.
Insurance and Storm Claims: What to Know
Many storm repairs on homes around Wiser Lake are covered under homeowner's insurance, particularly when the damage traces to a specific wind event. A few things that make the claims process smoother:
- Get an inspection soon after the storm — insurers pay closer attention to timing than most homeowners expect
- Ask for written documentation and photos of the damage before any repair work begins
- Get a clear, itemized repair estimate rather than a vague quote, since adjusters generally want specifics
- Keep records of any temporary measures taken to prevent further damage, such as tarping
We're glad to provide documentation that supports your claim, but we work for you, not the insurance company — our job is to tell you what the roof actually needs, not what's easiest to get approved.
After the Storm: A Practical Checklist
What you do in the days right after a storm can affect how much a repair ends up costing. A few practical steps:
- Walk the exterior and look up at the roofline from the ground — don't get on the roof yourself
- Check the attic (if accessible) for new water spots, damp insulation, or daylight showing through the deck
- Look for granules collecting in gutters or downspouts, a sign of shingle wear or impact damage
- Clear obvious debris like branches off the roof surface if it can be done safely from the ground or a ladder
- Photograph any visible damage before it's disturbed or cleaned up
- Call for an inspection promptly rather than waiting to see if a small leak gets worse
Why a Crew That Already Works Wiser Lake Matters
A roofing contractor who works this specific area regularly has already seen how the lake's tree cover, the local moss season, and the wind patterns off the water tend to damage roofs here — which means less time spent diagnosing the problem and more time fixing it correctly the first time. We're familiar with the material choices that hold up under Whatcom County's wet season, and we're close enough to respond quickly when storm damage needs attention before the next round of rain makes it worse.
If a recent storm has left you with a leak, missing shingles, or just an uneasy feeling about your roof, we're happy to take a look. Reach out for a free, no-pressure estimate using the form below — we'll give you a straight answer about what's actually going on and what it will take to fix it.